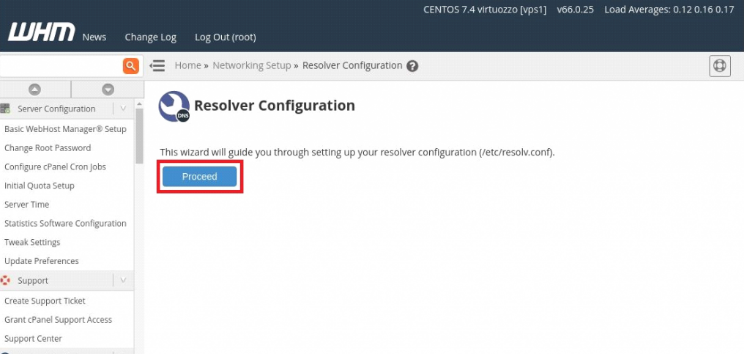
After logging into the WHM, you need to go to the Resolver configuration. You could locate it under the Network Setup. You could also find the feature by making a search on the top left search box.
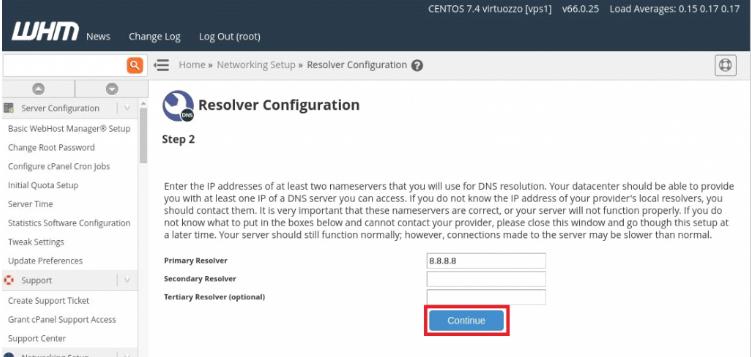
Now another window with the text boxes to edit the resolver IP addresses will come up. You need to click on the button Proceed and you will be lead to the next page where you need to digit in the desired resolver IP addresses. As we’ve seen earlier, it will edit the /etc/resolv.conf file.In this page, you could add the primary, secondary and tertiary resolver IP addresses and click on continue to proceed further. This is how we can configure the resolver IP address using WHM.